Kinnastelua ja uusia sukulaisia
~note~

Neulakinnastelu for my understanding does not have a standard english translation. I have seen it used in english context with the swedish word nålbinding, or as naalbinding/nalbinding etc. So I’m just finglishing it here and using the finnish word.

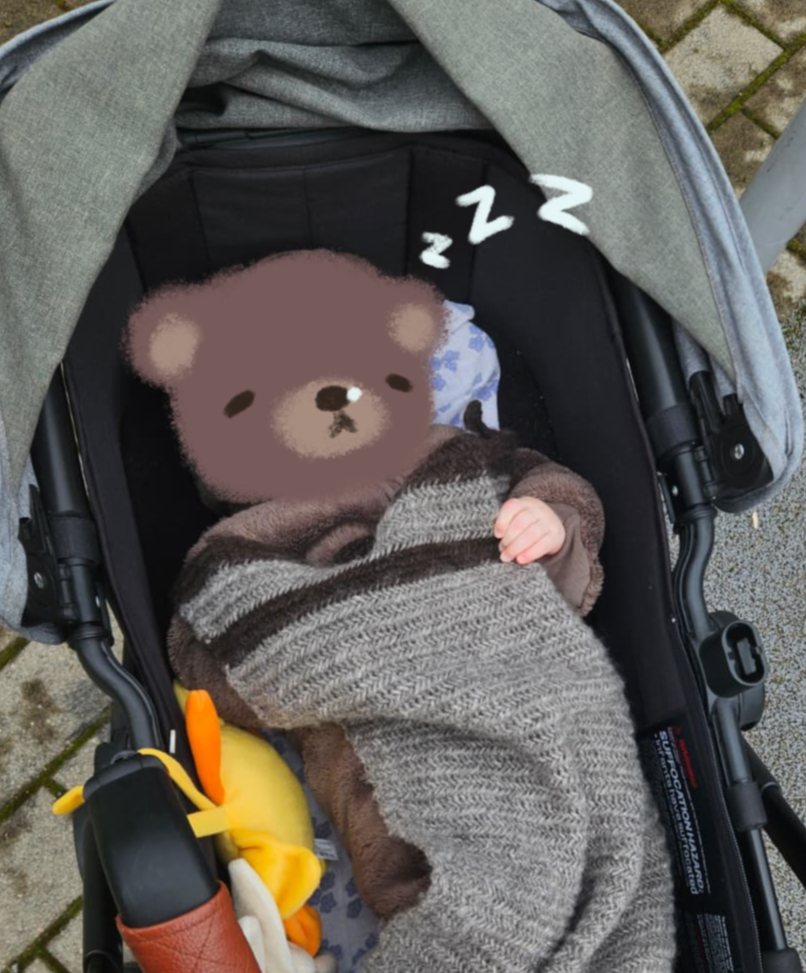
My cousin had a baby this year (!!), and I got to meet the new small human while I was in Vaala! Of course, I wanted to make something for the little guy, and decided to make a baby blanket with neulakinnastekniikka. Trouble is, all my knowledge of the technique is making round things, as the technique is, well, for kinttaat (mittens). Hats, tube scarfs, socks, shirts, all very easily understandable with the base knowledge of kinnastelu. But rectangular was for some reason super difficult for me (# ̄ω ̄). Not aided by the fact that I refuse to count rows unless
They’re super mega necessary
I don’t need to count more than 30stitches per row
d(°∀°d)
So. I first tried to simply kinnastella a row, add an extra loop, and turn. Crochet-style, tried and true. Well, eventually I noticed the work growing smaller. Shit. Is my tension off? I tried to loosen up moving forward. Nope, still shrinking. Time to frog, which, if you have ever done any frogging on neulakinnastelu work, you know it is sloooow. You cannot just pull it apart, you must pick one loop at a time to pull the yarn through, and repeat on each and every stitch.
Million undone stitches later
Ok, two stitches when turning? Too many rows later, still shrinking.
Another million stitches to undo.
While frogging again, I decided to search how others have approached making not-tubular shapes. This blogger had made a scarf successfully with the back and forth technique! So I must’ve been grabbing the wrong loop when turning. The blogger also presented other funky ways of approaching a scarf with kinnastelu! So def check them out.<3
Feeling vindicated that my technique should have worked but I just goofed up, I moved on to the next techinque that needed less brain activity; make a row, snip the yarn, and do another on top. I was starting to run out of time if I wanted the blanket to be ready when I went to Vaala, and I didn’t want to risk messing up the the turning again; I didn’t have time to frog any more attempts.
And lo and behold, after tidying up the ends and blocking, we have a rectangular blanket!!
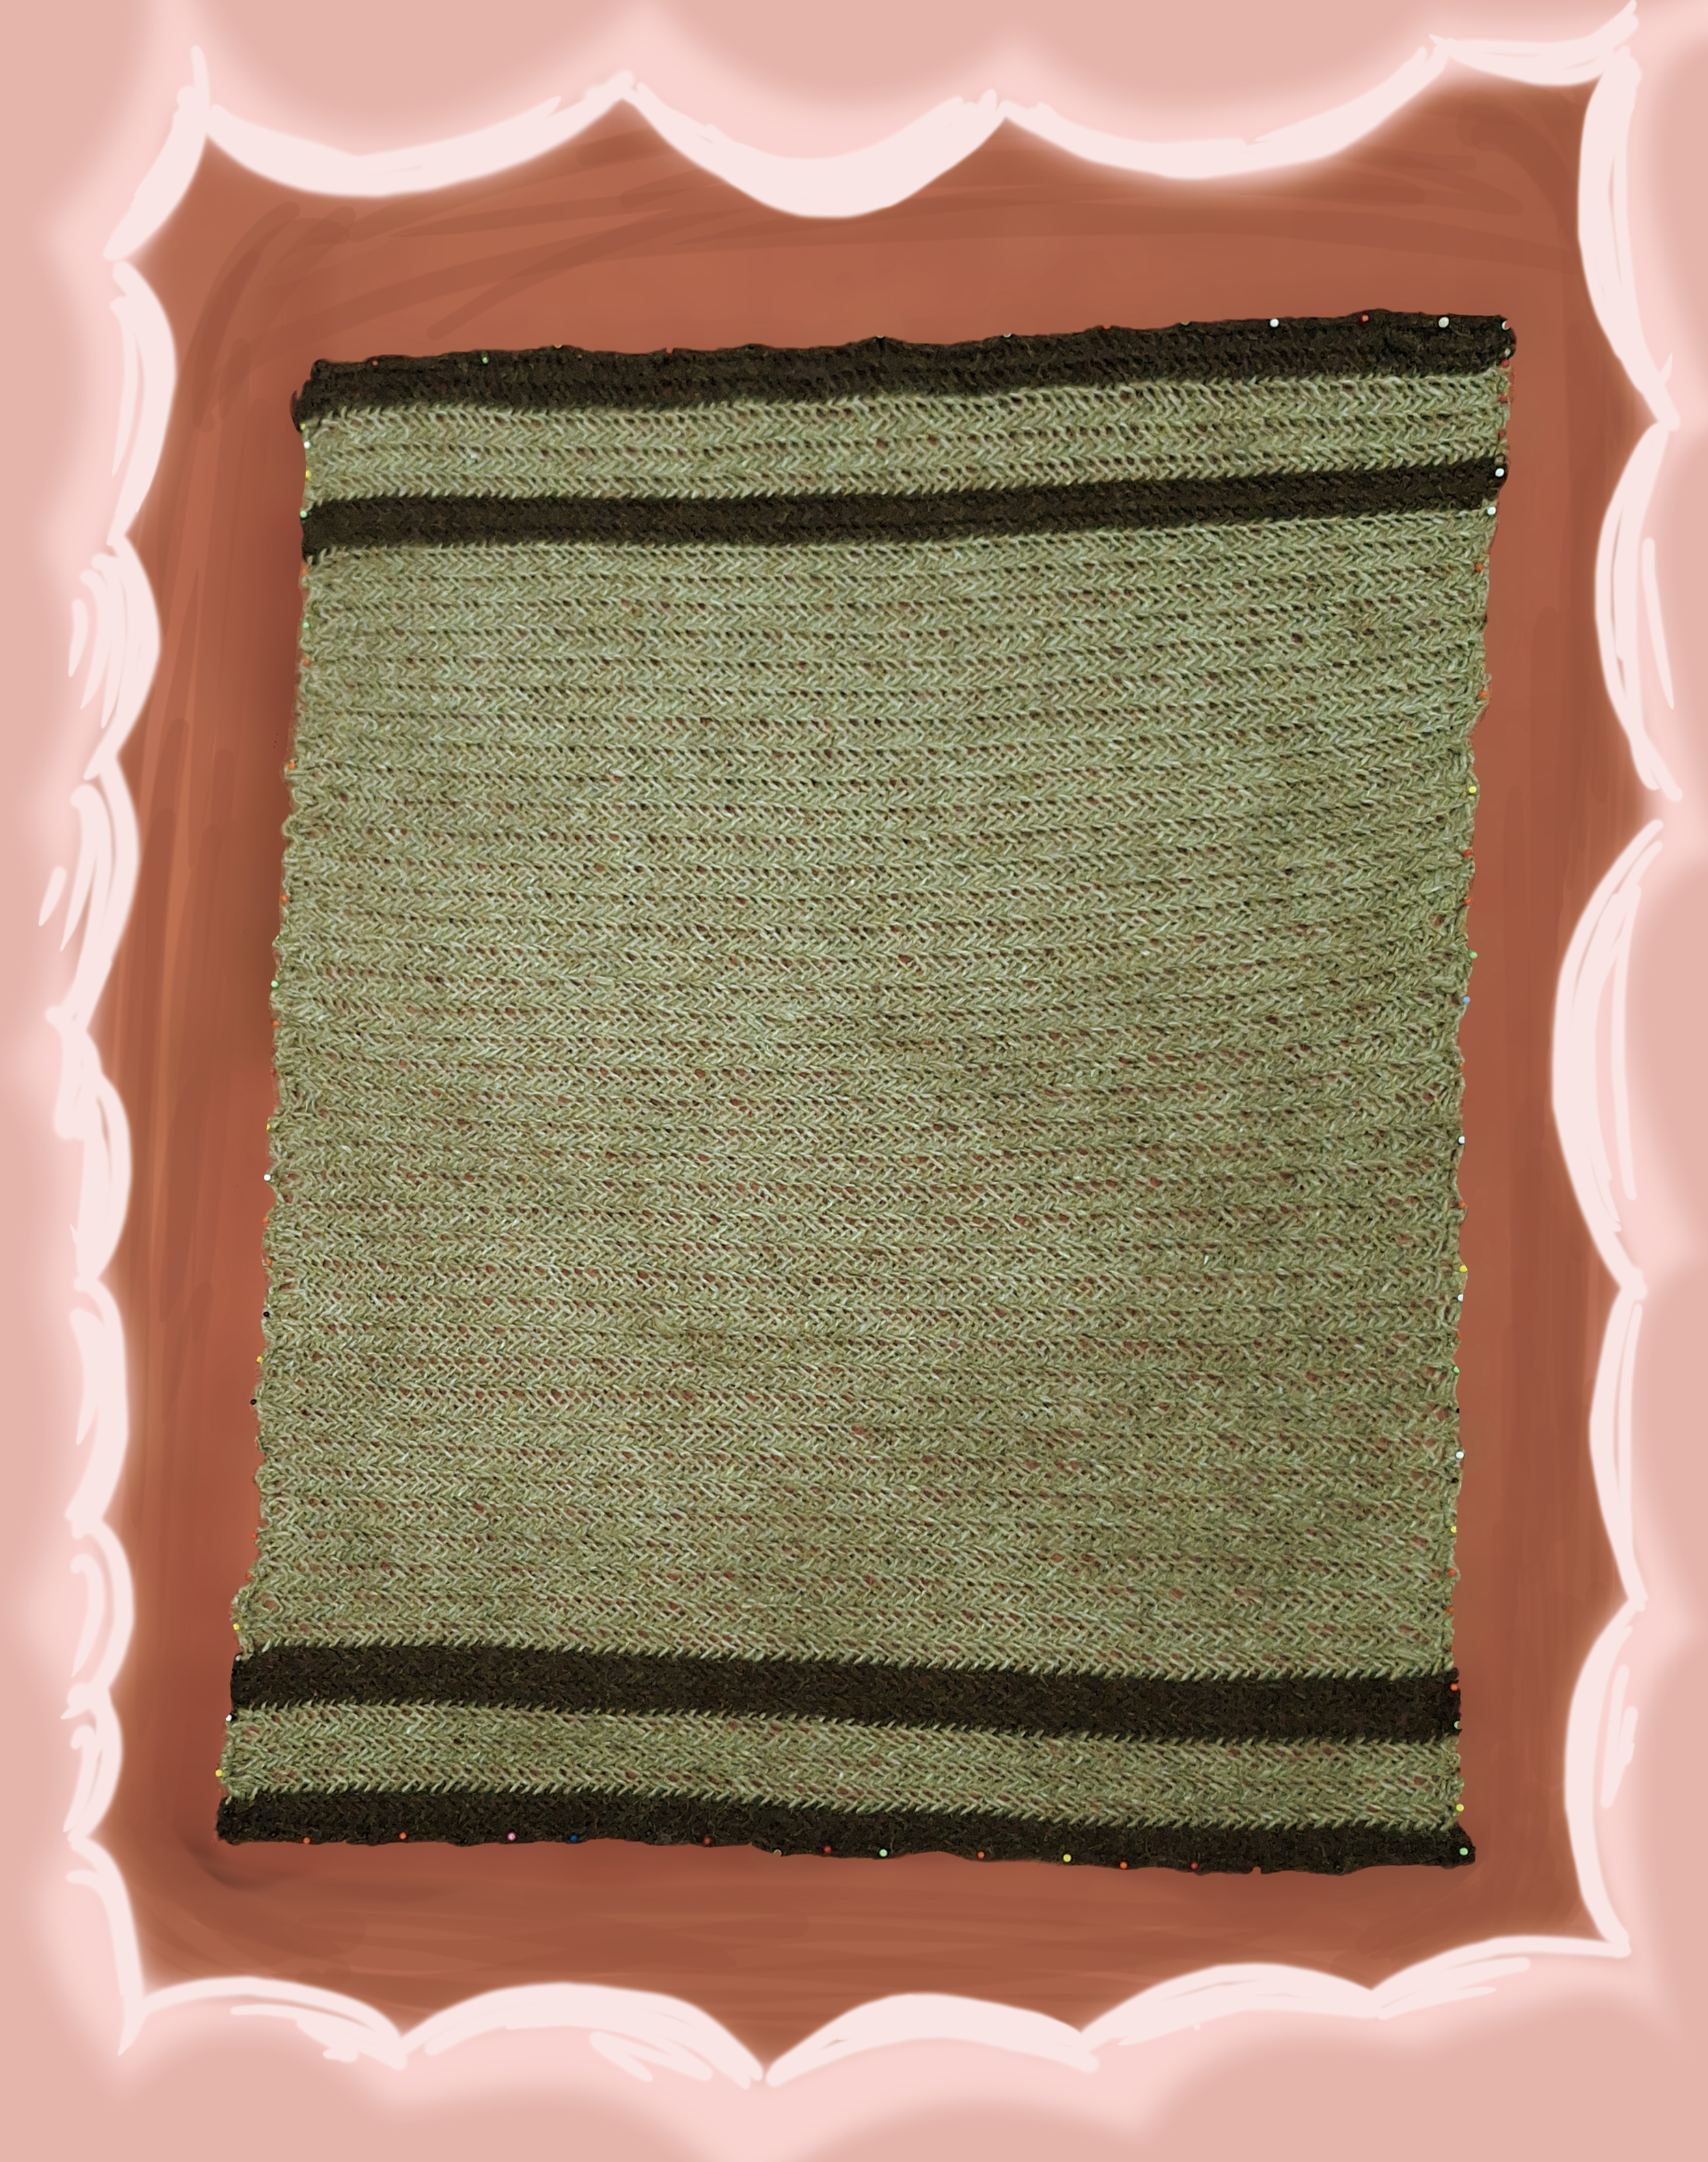
mm, rectangular
And not a moment too soon. I quite literally blocked the blanket the night before my train to Vaala. My wrists needed a break after the intense needling, but I was so happy to have it ready to gift it in person! The new parents seemed to really appreciate the gift. My cousins partner is also into natural fibers and knitting, which gave us the opportunity to nerd about handcrafts and yarns (✯◡✯)
The yarn I used was 100% undyed kainuunharmas, one of the old finnish breeds of sheep. I got this yarn from Urpolan Tilapuoti, where I have ordered from a few times now, specifically kainuunharmas. I often source yarn secondhand, but when I need to buy new, I try to buy local (and plastic free) yarn. The yarn from Urpola has always been very nice quality, and well cleaned. I have gotten kainuunharmas yarn from another farm before and the yarn was so full of sticks/debris, I need tweezers while working with it even though I cleaned it once already when gathering it into a ball. So two thumbs up for Urpola for good quality and debris-free wool yarn ╰(*´︶`*)╯♡
Wool from a heritage breed plus kinnastelu are this textile-history nerd’s dream combo. As the technique is one of the oldest in history, with local variety from Egypt all the way to Finland, there is just something special making stuff with the technique and tools my ancestors have used. I also really love the herringbone-type texture kinnastelu creates. And with structure that makes frogging terribly slow, the same structural integrity makes the item practically snag-proof. If you get a hole, it will not run, and is easy to patch up. This is why neulakinttaat (mittens with this technique) were a popular outer-layer mitten. So hopefully this blanket will be of comfort and use for years to come!
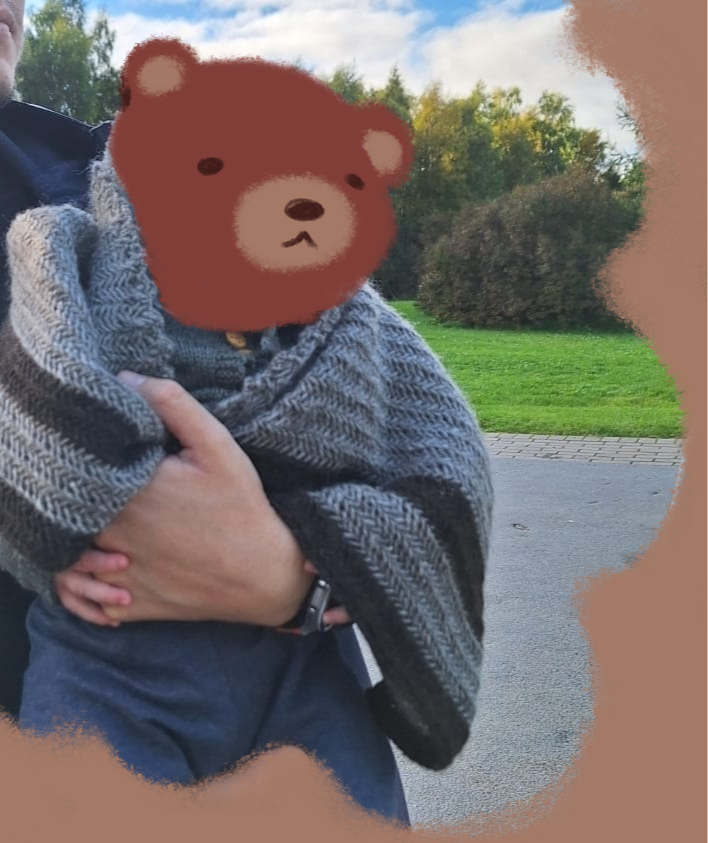
The blanket was not the most exciting thing for the little guy himself, (a neon-orange life preserver was much more interesting) but oh man was he cute!! Such a social and smiley little guy. Wishing him and his parents all the best.
Now, back to halloween prepping!
<3
M